Chick Days 2025
Raising healthy, happy chicks starts with the perfect brooder. Whether you’re a seasoned poultry keeper or a first-time chick raiser, setting up an environment that mimics the warmth and safety of a mother hen is essential. In this post, we’ll walk through everything you need to know—from choosing the right location and planning the layout to selecting the proper equipment and troubleshooting common issues. With clear, step-by-step instructions and practical tips, you’ll be well-equipped to create a brooder that fosters growth, minimizes stress, and lays the foundation for a thriving flock.
Understanding the Needs of Day-Old Chicks
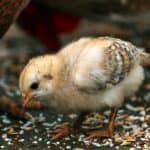
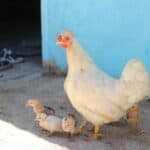
Day-old chicks are delicate and require a carefully controlled environment to support their rapid growth. At this stage, they rely on external heat, steady nutrition, and minimal stress to develop strong immune systems. Chicks are particularly sensitive to temperature fluctuations, so a consistent warm environment is paramount. They also need easy access to food and water, and a setting that reduces exposure to drafts or contaminants.
Behaviorally, young chicks instinctively huddle for warmth and may appear restless if they’re not comfortable. Their natural curiosity means they benefit from an environment that is both safe and stimulating, without being overwhelming. Providing a nurturing start not only supports their immediate health but also contributes to robust growth and long-term resilience. By understanding these basic needs, you can design a brooder that offers the right balance of warmth, space, and accessibility.
Choosing the Ideal Location for Your Brooder
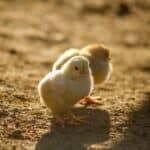
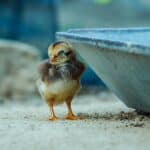
The location of your brooder can make all the difference in maintaining a stable environment for your chicks. Many poultry keepers prefer an indoor setup for its ease of temperature control and protection from outdoor elements. Indoors, you can better manage drafts, sudden weather changes, and the presence of pests or predators. A quiet, low-traffic room, a section of your garage, or a spare room can be excellent choices.
For those considering an outdoor brooder, it’s crucial to ensure that the space is well-insulated and shielded from wind and rain. Even in a well-designed outdoor area, sudden temperature drops can stress the chicks. The ideal spot is one that offers a stable temperature, minimal exposure to harsh elements, and easy access for daily checks and maintenance. Safety and hygiene are also important factors; choose an area that is free from dust, chemicals, and other contaminants that might compromise the chicks’ health.

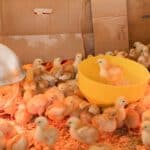
Planning the Layout and Size of Your Brooder
Creating a functional brooder begins with careful planning of the layout and space allocation. One of the first steps is determining the amount of space each chick needs. Overcrowding can lead to stress, increased risk of disease, and conflicts over food and water. As a general rule, allocate enough room so that each chick has ample space to move around comfortably. This planning stage should include a rough sketch or layout plan, dividing the brooder into distinct zones.
Consider zoning the brooder into specific areas: a feeding zone, a resting area, and a small exploration or play area. This separation helps maintain order and makes routine cleaning more manageable. Moreover, think ahead—chicks grow quickly. While the initial space might be sufficient for day-old chicks, it should be adaptable as they mature. Designing a layout that can evolve over time minimizes the need for a complete overhaul later on, ensuring a smooth transition as your birds grow from delicate hatchlings to lively youngsters.
Essential Equipment for a Successful Brooder
A well-equipped brooder is the backbone of a healthy chick-rearing process. Each piece of equipment serves a vital role in ensuring that your chicks remain comfortable, nourished, and secure.
Heat Sources
Providing a consistent heat source is perhaps the most critical element of your brooder setup. There are several options to consider:
- Heat Lamps: These are commonly used because they offer a concentrated source of warmth. When setting up a heat lamp, ensure that it is securely mounted and positioned to create a gradual temperature gradient across the brooder.
- Radiant Heaters and Heating Plates: These alternatives are often more energy efficient and distribute heat more evenly. Choose a model that suits your space and always follow manufacturer safety guidelines.
It is essential to create an area with a temperature gradient so that chicks can choose the level of warmth that best suits their needs. Avoid placing the heat source too close to the chicks to prevent burns, but also ensure it isn’t so far away that some birds remain chilled.
Temperature Monitoring
A reliable thermometer is indispensable. Place thermometers at various points in the brooder to monitor the temperature accurately. This will help you identify any cold or overly warm spots and adjust your heat source accordingly. Regular checks—at least a few times a day—can prevent temperature extremes that may stress the chicks.
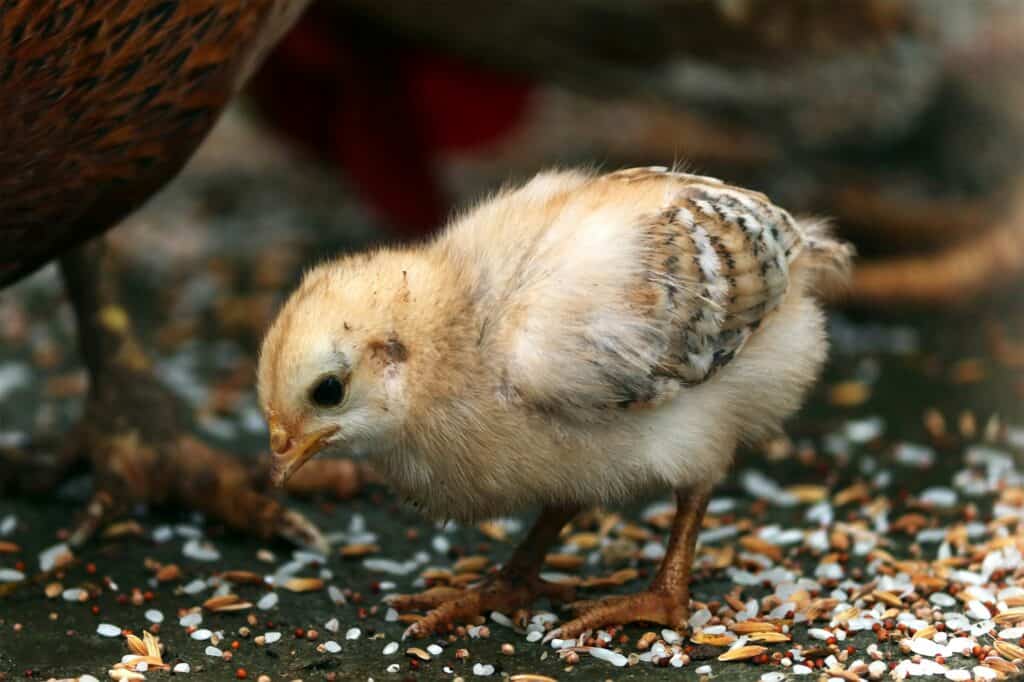
Bedding and Substrate
The bedding not only provides insulation but also plays a role in maintaining hygiene. Popular choices include pine shavings, straw, or recycled paper products. Pine shavings are particularly effective at absorbing moisture and are relatively easy to clean. Spread the bedding evenly, ensuring a sufficient depth to cushion the chicks and help regulate the temperature. Regular replacement or topping up of the bedding is crucial to prevent dampness and the buildup of bacteria.
Feeders and Waterers
Proper nutrition is a cornerstone of chick development. Use feeders and waterers designed specifically for chicks to reduce spillage and contamination. Their size and accessibility are important—make sure that all chicks can reach them easily without creating a crowded feeding area. Position these items away from the heat source to prevent the feed from spoiling due to excessive heat.
Additional Accessories
While not strictly necessary, certain extras can enhance the brooder environment. Consider small perches or platforms that encourage natural behaviors. These items can provide stimulation and contribute to the overall well-being of the chicks. When selecting additional equipment, balance quality with cost, opting for durable products that will serve you well throughout the chick-rearing process.
Step-by-Step Brooder Setup Process
A systematic setup process is key to creating a safe and efficient brooder. Follow these steps to ensure that every detail is addressed:
Preparation and Material Checklist
Before diving into the physical setup, gather all necessary items:
- A heat source (lamp, heater, or plate)
- Thermometers
- Suitable bedding (pine shavings, straw, or recycled paper) the pine shavings should be on the large size to avoid the chicks ingesting dust
- Feeders and waterers designed for chicks
- Cleaning supplies
- Optional accessories like perches or enrichment items
Having a checklist not only saves time but also minimizes the chance of overlooking critical components.
Setting Up the Brooder Base
Start by preparing the chosen space. Whether you’re using a large container, a repurposed box, or a designated room, clean the area thoroughly to remove any dust or debris. Lay down your chosen bedding evenly across the floor, ensuring a consistent layer that will provide both cushioning and insulation. The base should be free from sharp objects or hazards that could injure the chicks.
Installing and Positioning the Heat Source
The heat source is the heart of your brooder. Install it according to the manufacturer’s instructions, ensuring that it is secure and well-positioned. Create a temperature gradient by placing the heat source at one end of the brooder. This allows the chicks to move closer to or further from the heat as needed. After installation, use your thermometer to check that the area near the heat source reaches the recommended starting temperature (usually around 95°F for the first week). Adjust the distance and settings if necessary.
Arranging Feeders and Waterers
Next, position the feeders and waterers. These should be placed in an area where all chicks can access them without causing congestion. A common strategy is to set them up on the opposite side of the brooder from the heat source. This not only balances the environment but also encourages chicks to move around, promoting activity and preventing boredom. Before introducing chicks, run a quick test to ensure that water flows properly and that the feed remains accessible and uncontaminated.
Final System Check
Before the day-old chicks arrive, perform a final walk-through of your brooder. Verify that all equipment is functioning correctly—check that the heat source is stable, the temperature gradient is in place, and that the bedding is evenly spread. A final checklist might include:
- Confirming the heat source is securely installed and providing the right warmth.
- Checking that the thermometer readings are consistent throughout the brooder.
- Ensuring feeders and waterers are filled, positioned correctly, and easy to reach.
- Inspecting the area for any potential hazards.
Once everything is in place and functioning as intended, your brooder is ready to welcome its new residents.
Temperature, Lighting, and Maintenance Considerations
Maintaining the right environment for your chicks goes beyond the initial setup. Temperature management, lighting, and routine maintenance are ongoing tasks that ensure the brooder remains a healthy space.
Temperature Management
Day-old chicks thrive in a warm environment, but as they grow, their heat requirements will decrease. Regularly monitor the temperature and adjust the heat source gradually. The temperature gradient you’ve set up should allow chicks to regulate their own warmth by moving closer to or further from the heat. Over time, you can lower the heat in small increments as the chicks mature.
Lighting Requirements
Lighting plays an important role in regulating the chicks’ daily activities. While natural light is ideal, especially during daytime hours, supplemental artificial lighting can be beneficial during cloudy days or in indoor setups. Aim for a consistent light/dark cycle that mimics natural conditions—typically around 16 hours of light followed by 8 hours of darkness. This consistency helps regulate the chicks’ metabolism and behavior.
Routine Maintenance
Keeping the brooder clean is essential for preventing disease. Daily maintenance should include removing any wet or soiled bedding, checking the feeders and waterers for contamination, and replenishing fresh supplies. A weekly deep-cleaning routine is also advisable; this might involve replacing all the bedding, sanitizing surfaces, and inspecting equipment for wear or damage. Routine maintenance not only preserves a hygienic environment but also reinforces a regular schedule that benefits both you and the chicks.
Final Checklist
Before introducing your chicks, make sure you have:
- A secure, stable heat source creating a proper temperature gradient.
- Thermometers placed at strategic points with consistent readings.
- Adequate, evenly spread bedding that is clean and dry.
- Feeders and waterers positioned for easy access and minimal spillage.
- A thoroughly cleaned and hazard-free brooder area.
- A plan for daily and weekly maintenance to keep the environment optimal.
By following these guidelines, you can confidently welcome your day-old chicks into a safe and nurturing home. Remember that while the initial setup is critical, ongoing care and observation are just as important. Every flock is unique, and as you gain experience, you may find small adjustments that work best for your specific situation. Enjoy the process, stay observant, and don’t hesitate to reach out to experienced poultry keepers or local experts if you need further advice. With a well-prepared brooder, you’re on your way to raising a healthy, vibrant flock that will reward you with years of enjoyment and fresh eggs.
Taking the time to carefully set up and maintain your brooder isn’t just about following a checklist—it’s about creating a space where your chicks can thrive. The early days are crucial, and the environment you create will have a lasting impact on their development. Whether you’re a hobbyist or running a pet supply and feed store, investing in a high-quality brooder setup is an investment in the health and future of your flock. Enjoy the journey of raising your chicks, and remember that every small improvement in their environment can lead to big gains in their well-being and growth.